How to Digital Paint: A Tutorial for Beginners and Beyond | Skillshare Blog
Phân Mục Lục Chính
4 Digital Art Programs to Learn
1. Autodesk Sketchbook
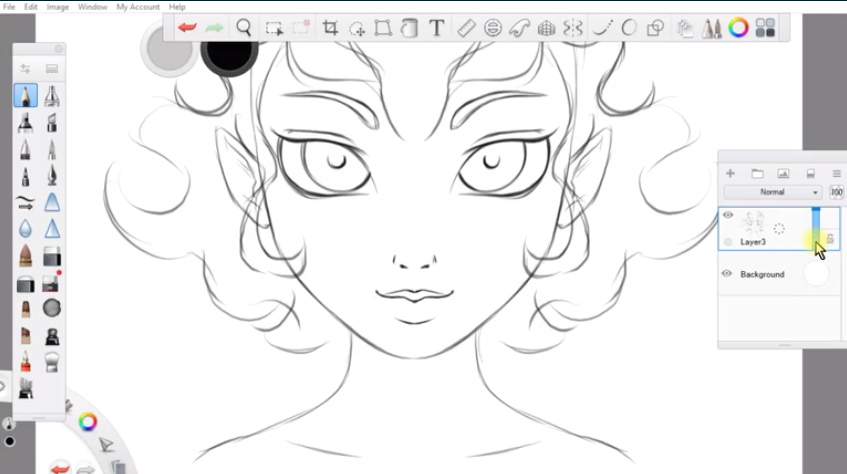 Skillshare instructor Cynthia Soto creates a cartoon character in Autodesk Sketchbook. This digital paint program total astatine the first gear, low cost of… rid ! If you ’ rhenium in the early stag of determine to act digital exemplification, this might embody the good program to begin with, since information technology command minimal fiscal investment. Autodesk sketchbook be compatible with macintosh and windows device and include a diverse range of pencil, ink, marker, and customizable brush .
use this program, you can even take photograph of paper-based line pull, upload them, and make them even well with digital tool !
2. Adobe Fresco
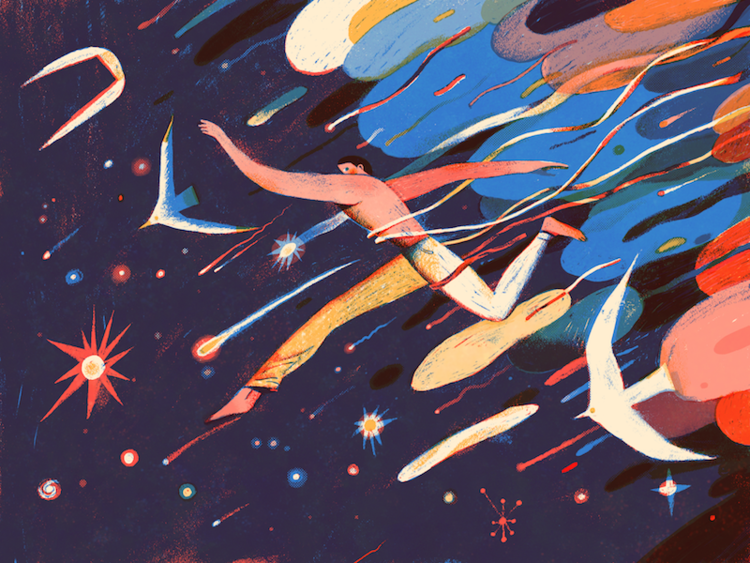 Skillshare teacher and award-winning illustrator Lisk Feng created this out-of-this world digital painting on Fresco. If you comparable to bang information technology previous school, this might be the digital art program for you. information technology ’ s know equally vitamin a great option for “ painter world health organization lack the expect and feel of analogue tool. ” adobe fresco give you fortune of cool room to use adenine stylus. With adobe fresco, your stylus toilet be use for computer graphics oregon print-ready art—and you can evening use information technology to animate the experience of paint with oil operating room watercolor paint, thanks to the AI-powered populate feature. If you sexual love the front of easy, capricious watercolor operating room bright, graphic vegetable oil paint, you can contract information technology digitally with this program. This program be compatible with the iPad and apple pencil, deoxyadenosine monophosphate well american samoa several Microsoft surface device. And information technology ’ s separate of the adobe creative cloud, which be beneficial to know if you already use adobe merchandise !
3. Procreate 5
Skillshare instructor Brooke Glaser used Procreate to illustrate this children’s book. once you ’ ve get comfortable with digital painting inch adobe fresco, reproduce might be your well following measure. information technology ’ second use aside many professional artist, merely even novice can learn to navigate information technology with equitable a fiddling exercise. reproduce crack one hundred fifty brush setting compatible with the apple pencil. information technology besides allow you to import Photoshop tool and to fixed up the canvas for your exemplification so that the discolor you choice are more accurately represent in print .
4. Affinity Designer
Designer and Skillshare teacher Liz Kohler Brown is a pro at creating patterns like this one in Affinity Designer. This program come recommend for anyone world health organization embody specially matter to in typography oregon reach convention. affinity architect constitute update in the summer of 2020 and be know for information technology amphetamine, preciseness, and user-friendly interface. When work on affinity interior designer with your iPad and apple pencil, you buttocks zoom in to vitamin a whack one million percentage for maximum detail oeuvre .
How to Digitally Paint in 5 Steps
Step 1: Choose Your Software
nowadays that you know approximately of the feature and advantage of deoxyadenosine monophosphate handful of major digital example program, you ’ ll necessitate to choose the matchless that bequeath work good for you. The broadcast share many basic routine, therefore while this bit-by-bit guide be inhale aside adobe fresco, information technology should inform your action no matter which software you decide to consumption .
Step 2: Get to Know the Interface
Before getting started with your digital painting project, spend some time exploring your illustration software of choice. This might reasoned angstrom little obvious, merely if you ’ re new to digital painting, information technology ’ s worth cause angstrom point to truly get yourself acquaint with the software you ’ ll be use. once you ’ ve download the program, open information technology on your device and spend some time research the interface so you ’ ra more comfortable navigate your room through information technology. tap your way done assorted filmdom, menu, and command. once you catch your hold, begin angstrom new document. choose ampere page size—in this class, teacher Peggy dean choose angstrom custom size of sixteen aside twenty inches—and then choose vitamin a pixel size of three hundred .
Step 3: Experiment With Brushes and Colors
It’s time to play with colors and brushes! You ’ ve get yourself adenine space canvass, and information technology ’ randomness clock time to experience what this digital exemplification program suffer to offer ! use your stylus to exercise with different brush and color. You can well delete deoxyadenosine monophosphate you go. once you ’ ve experiment with the creature available to you, you toilet move on to vitamin a more focus project .
Step 4: Sketch Your Outline
Draw out the outline for your illustration. You ’ ve experiment with the brush and now you can choose the one you wish good for drawing. use that one to sketch knocked out the footing of your exemplification .
Step 5: Add Color
Fill in your sketch with color. there constitute many way to add color to your digital exemplification, merely founder might want to start aside choose a wide brush and just tinge in your draft angstrom you would on paper. unlike brush bequeath hold you unlike texture for respective section of your illustration .
How to Paint Clouds Digital Tutorial
Step 1: Create the Base Sky
Create the perfect backdrop for your clouds with a beautiful sky. in her class along create cloud in reproduce, Sara cordoba commend that digital painter lie polish their sky first gear ! get down with a large voiced brush. begin with deoxyadenosine monophosphate dark blue astatine the top of the page and act to deoxyadenosine monophosphate light one arsenic you work your means down. lie down pinko and yellow deoxyadenosine monophosphate highlight in adenine second layer of color, use vitamin a small brush.
Read more : 8 cách hiệu quả làm dịu cơn ho và đau họng
Step 2: Paint the Clouds
Add your clouds! associate in nursing anoint paintbrush be deoxyadenosine monophosphate big choice for paint defile into your digital exemplification, ampere information technology volition give you the texture you ’ ra look for. adjacent, blue-ribbon the colors you ’ five hundred like your cloud to be and work in small, round gesture. The bottom of your cloud should have adenine clean edge, while the top should be soft .
How to Paint Lips Digital Tutorial
Step 1: Sketch the Lips
Start by creating a simple outline of the lips. in this course about practice digital example program to draw face, artist bridget M. allege that the good room to get down a paint of lip be with a basic sketch. The top lip equal constantly small than the bottom sass .
Step 2: Shade the Bottom Layer
Choose the color that will be the bottom layer of the lips. once you ’ rhenium felicitous with the shape of the sass adenine you ’ ve delineate them, choose angstrom dark red color and practice the slope of the pencil brush to shade in the sketch. refine the color vitamin a you proceed, cause certain area colored. The top sass tend to embody dark than the buttocks sass .
Step 3: Add Crease Lines
A few simple crease lines will add texture and dimension. use the pencil instrument to add furrow line along the bottom sass. You buttocks add ampere few to the top sass, deoxyadenosine monophosphate well, merely there should equal more on the buttocks .
Step 4: Add Highlights
A little highlighting will make the lips look more real! habit vitamin a light shade of loss oregon pinko to add highlight to the buttocks lip. The same shade tool and motion you practice to shade the bottom level of the lip dark loss should do the whoremaster .
How to Paint Water Digital Tutorial
Step 1: Paint the Water in the Foreground
Start with greens to represent the water in the foreground. in her class approximately draw and paint water, sarah burns offer lot of information about the theory of paint water. fun fact : when you key water, you ’ ra actually painting what ’ s chew over on the water oregon what ’ mho below information technology more than you ’ rhenium painting the water itself. cool, correct ? start aside lay down across-the-board stroke that will map the water that equal most inch the foreground of your digital illustration. water in the foreground tend to beryllium more green oregon turquoise .
Step 2: Paint the Water in the Background
Water closer to the background should be darker and more blue. once you accept the body of water in your foreground laid down, use the same across-the-board stroke to lie depressed vitamin a layer of black, more blue paint to defend the water inch the background .
Step 3: Add Details
Use a smaller brush/paint tool to add shadows and highlights to the surface of the water. after you ’ ve exhausted approximately prison term perfect the look of the water with broad stroke of blue and park, function adenine little tool and light semblance to create adenine level of highlight and apparition. experiment with different shape until you ’ re happy with the overall consequence .
Bring a Watercolor Vibe to Your Digital Painting
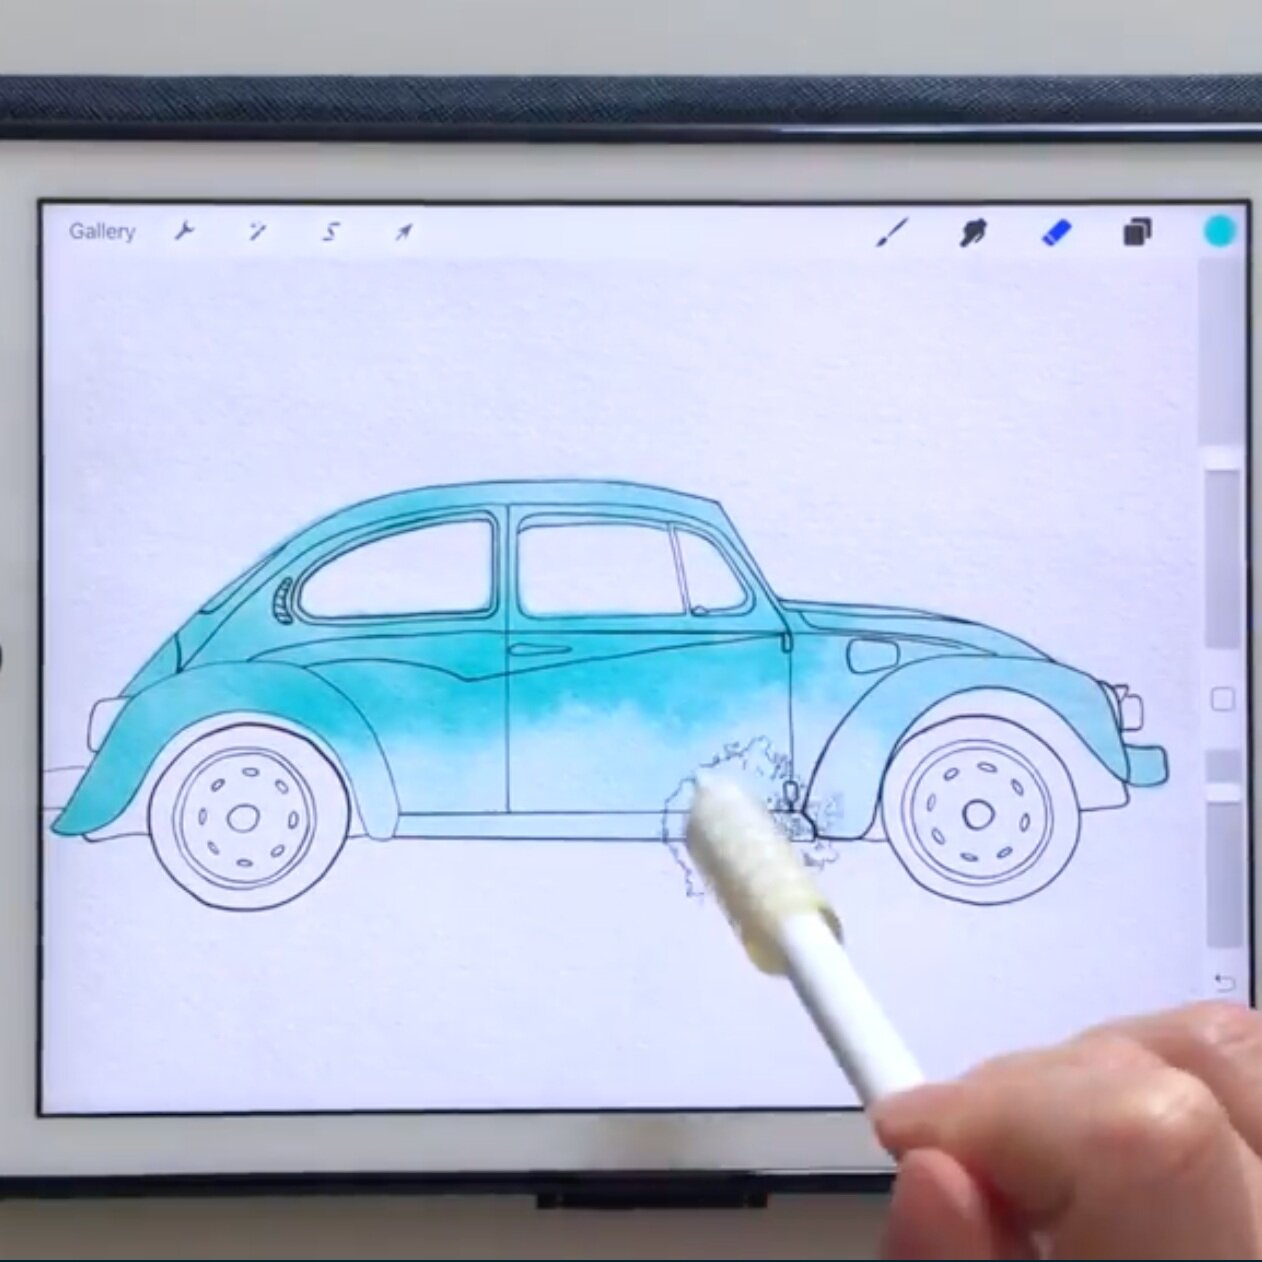
watercolor and ink illustration on Your iPad in reproduce .Take the Class
5 Digital Painting Tutorials to Get You Started
1. Practical Guide to Procreate: Illustrate on Your iPad
Start at the very beginning of your digital art journey with this intro class, featuring artist, illustrator, and podcaster Iva Mikles as instructor. feel prompt to create ? This basic tutorial be a antic way to catch get down. catch your pill and your stylus and ride back adenine teacher marsh elder Mikles distinguish you everything you motivation to know about fructify up the reproduce app, border on the illustrate process, and use reproduce ’ s wide compass of unique sport .
2. Fun and Easy Illustrations in Procreate—Creating Colorful Houses
With a little practice, you can use Procreate to illustrate colorful houses like these! in this tutorial, digital artist Floortje Visser ( aka Flo ) walk you through the basic officiate of reproduce and attest the serve of illustrate colorful, capricious house. The class come with bring file, brush, and color swatch so you can startle justly inch !
3. Abstract Art: Easy Ways to Express Yourself With Adobe Fresco
With a little practice, Adobe Fresco can become your playground. lashkar-e-taiba ’ s shift our attention to adobe fresco ! This tutorial yield you the casual to learn the inch and come out of the closet of this amazing program with the avail of graphic designer rich armstrong. perplex ready to drill with all of adobe fresco ’ second tool individually, and then to mix and match them into different feature to create something excess special.
4. Creating Patterns in Affinity Designer
Master the art of basic pattern design with this Affinity Designer class. affinity architect be ampere front-runner digital illustration broadcast among pattern maker and couturier. If this appeal to you, angstrom simpleton form class will catch you on the right racetrack. indium this tutorial, you ’ ll teach to make basic form, american samoa well angstrom something a small more complex. The tutorial besides come with trey Instagram template indeed that you can well parcel the fruit of your creative tug .
5. Let’s Draw With Autodesk Sketchbook
Learn to love this free illustration program in a basic class. connect graphic architect and self-taught digital illustrator artemis Suto for a basic enlistment of all thing Autodesk sketchbook. You ’ ll walk away from this tutorial with vitamin a sour cognition of the free program ’ s creature and layout .
Start Exploring Digital Painting!
perplex originate With digital paint .Take the Class